イントロ ~パラメータとコンポーネント~の続きです。
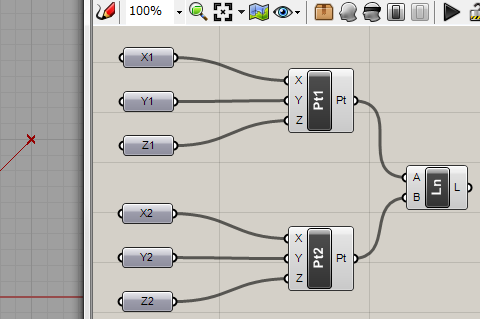
初回(イントロ ~パラメータとコンポーネント~)は座標値を設定するのにNumberコンポーネントによってx,y,z各々の値を一義的に入力しました。
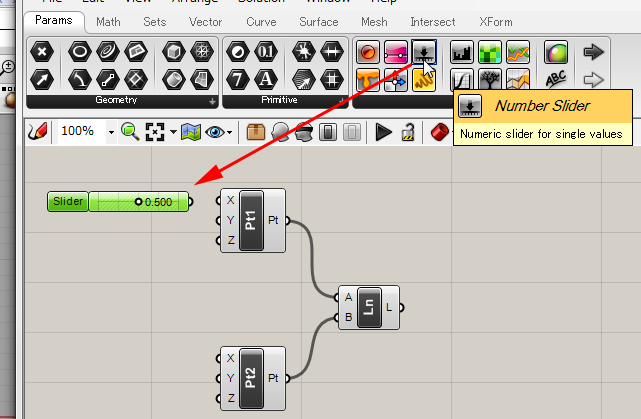
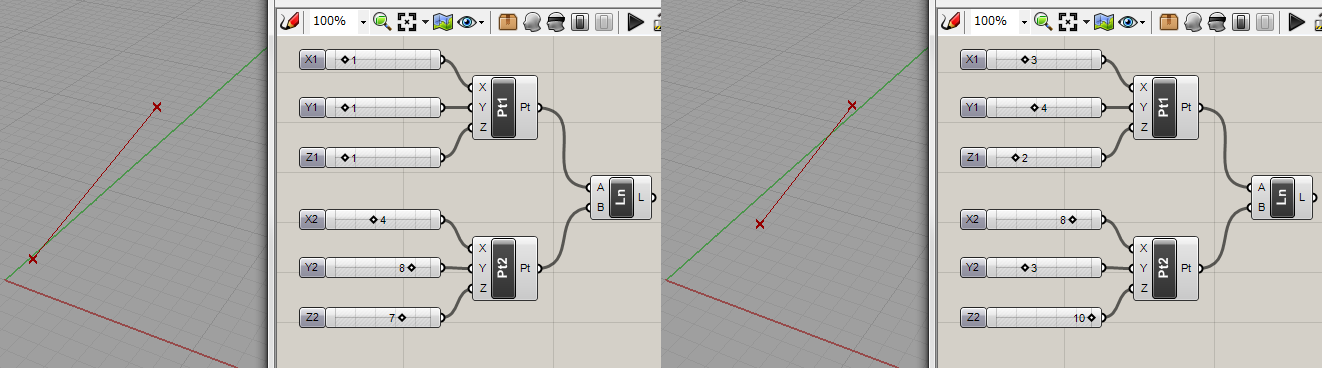
次に一旦Numberコンポーネントを全て消去して、「Params」タブからNumber Sliderコンポーネントをワークスペースに配置します。
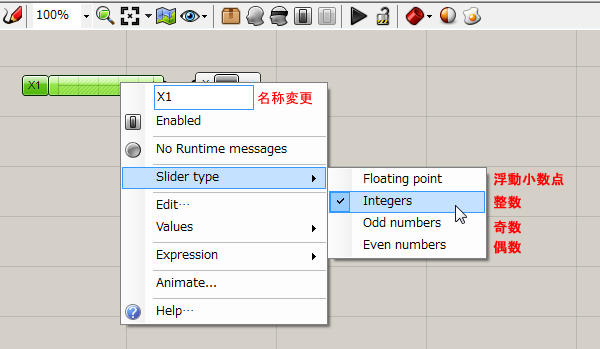
配置した数値スライダーを右クリックすることにより、コンポーネント名称の変更や、スライダー値のタイプ変更(浮動小数点、整数、偶数、奇数)。
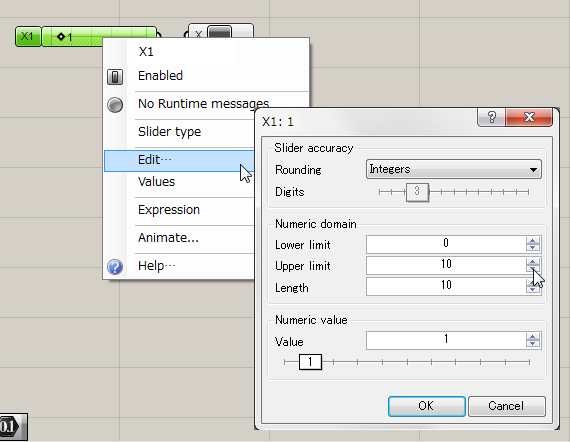
最大、最小値の設定を行うことができます。
Grasshopper – イントロ ~パラメータとコンポーネント~
Grasshopper – ポリラインからカーブへの変換
Grasshopper – コンポーネントの接続
Grasshopper – Panel コンポーネントの使い方
Grasshopper – スライダーの使い方
Grasshopper – データ編集
Grasshopper – One Point!コンポーネントの表示の制御
Grasshopper – サンプル1、サンプル2(多角形・2DBasic)
Grasshopper – サンプル3(3DBasic)
Grasshopper – サンプル4(Fusion)
Grasshopper – サンプル5(Transform)
Grasshopper – サンプル6(UVDivision)
Grasshopper – サンプル7(Morfh)
Grasshopper – サンプル8(MapSurface)
Grasshopper – サンプル9(OrientSrf)
Grasshopper: Voronoiパターンを利用した建築モデリング
Grasshopper – Voronoi パターンシミュレーション