Rhino8に加わったPushPull(プッシュプル)は、ソリッドや曲線を使ってソリッドの押し出しやくり抜きを素早く行えるコマンドです。
BooleanUnionコマンド(ソリッドメニュー>和)やBooleanDifferenceコマンド(ソリッドメニュー>差)のようなモデリングを効率良く行うことができます。
ここではPushPullコマンドやガムボールを使って、おもちゃの家を作成します。またPushPullツールバーにあるInsetコマンドの使い方も合わせてご紹介します。
ベース形状の作成
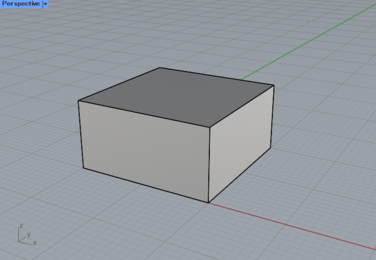
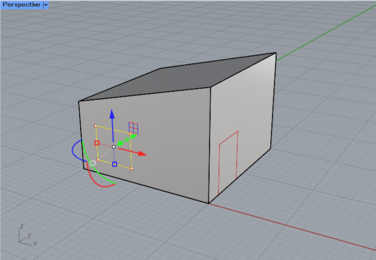
1.Boxコマンド(ソリッドメニュー>直方体>2コーナー、高さ指定)で、X=20、Y=20、Z=10の直方体を作成します(左図)。
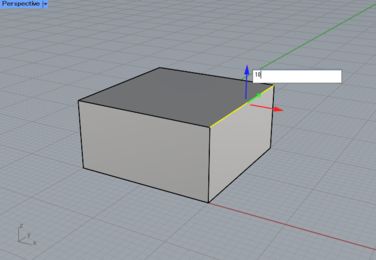
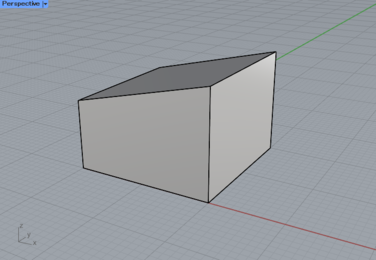
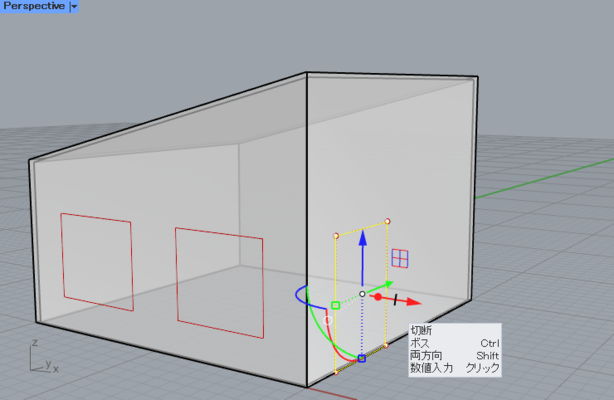
Shift+Ctrlキーを押しながら(サブオブジェクト選択)上部手前のエッジを選択、
ガムボールの青い矢印先端をクリックし「5」と入力(中図)、
Enterで決定しエッジがz方向に5移動したのを確認します(右図)。
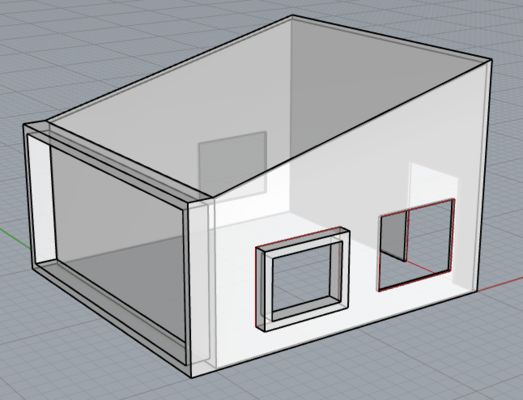
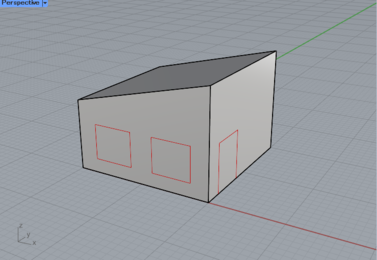
2.Rectangleコマンド(曲線メニュー>長方形) コマンドを実行、垂直 オプションを選択し、Osnapの近接点にチェックを入れ、右側サーフェスの下部エッジから垂直に立ち上がる長方形を1つ作成します。これは家の入口部になります。
手前の壁にも同じコマンドで長方形を作成、作成後ガムボールで上に移動・コピーし2つ配置します。これは家の窓になります。
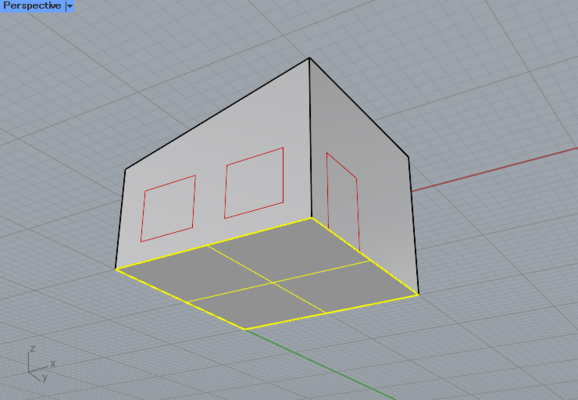
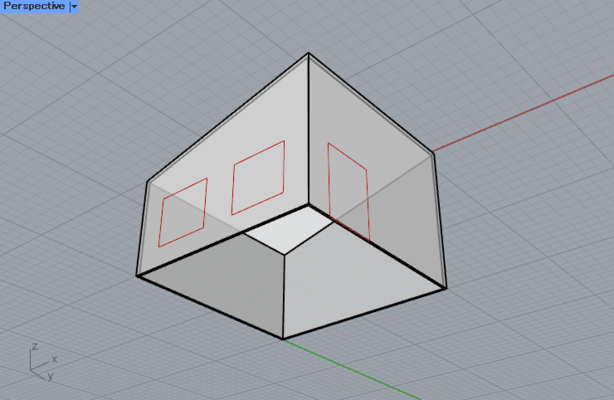
3.Shellコマンド(ソリッドメニュー>シェル)を実行、「閉じたポリサーフェスから取り除く面を選択」で厚み=0.2 と入力してから底面をクリックし(左図)Enterで決定します。
確認しやすいよう、ゴーストビューに切り替えます(右図)。

ガムボールの切断ハンドルを使った窓、入口部のくり抜き
ここではまずPushPullコマンドを使わずにガムボールの切断ハンドルを使ってソリッドのくり抜き、押し出しを行ってみます。
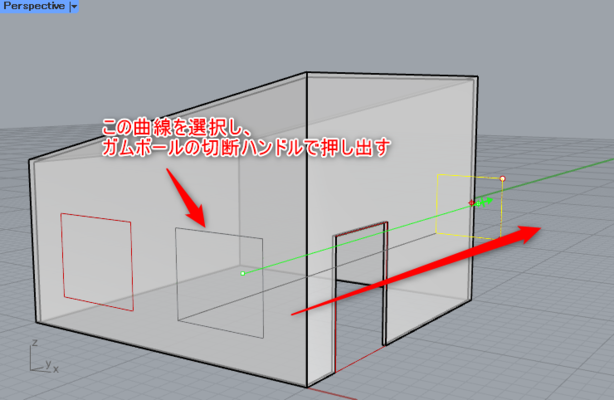
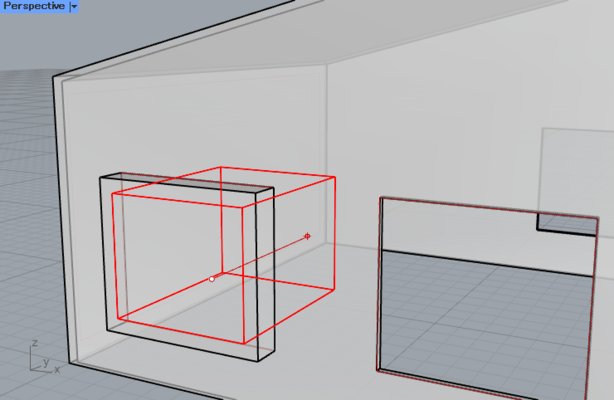
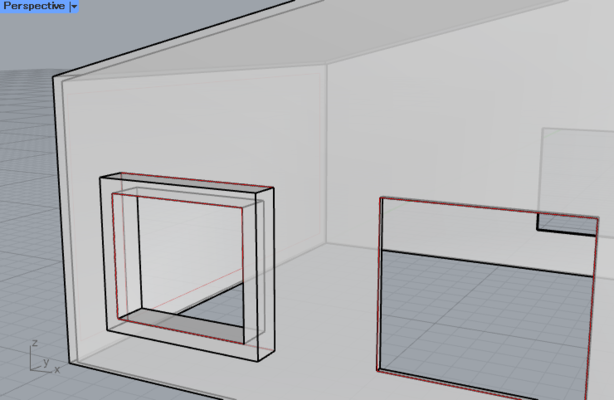
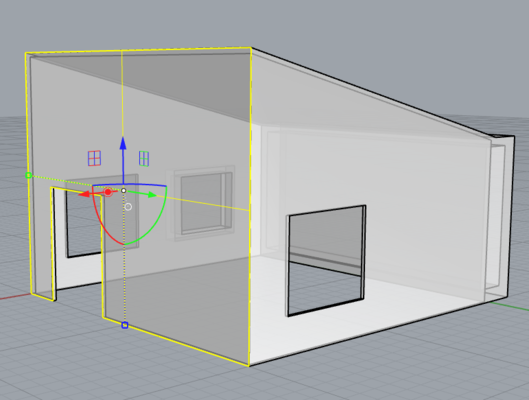
4.手前の壁の入口部曲線を選択、ガムボールで赤矢印上にある切断ハンドル(下図・黒い線の表示)を選択、内側に向けてドラッグしながらくり抜きます(BooleanDefferenceのような機能)。
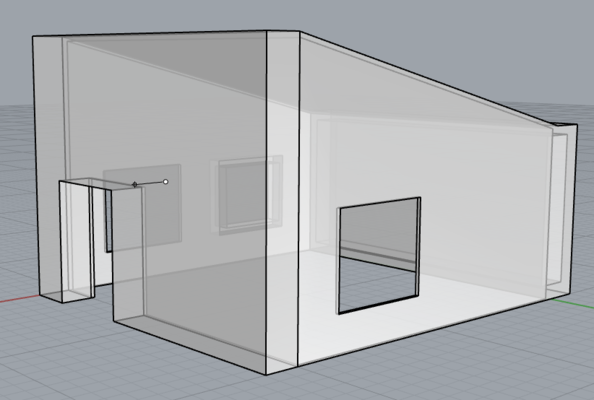
5.続けて手前の壁の右の曲線を選択し、同じくガムボールの緑矢印上にある切断ハンドルを選択、反対側の壁まで貫通するようにドラッグし、2枚の壁をまとめてくり抜きます。
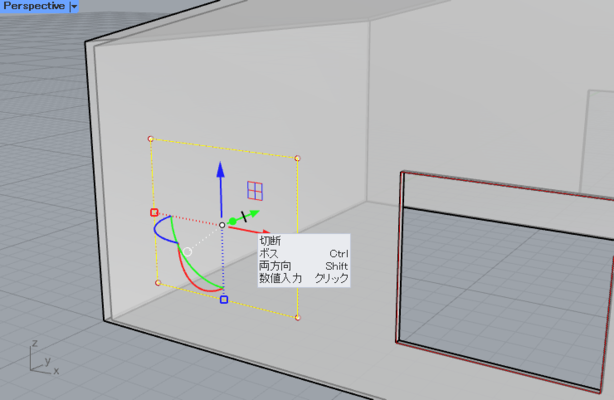
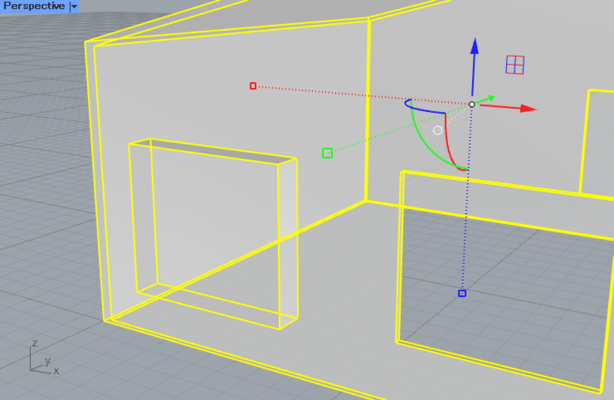
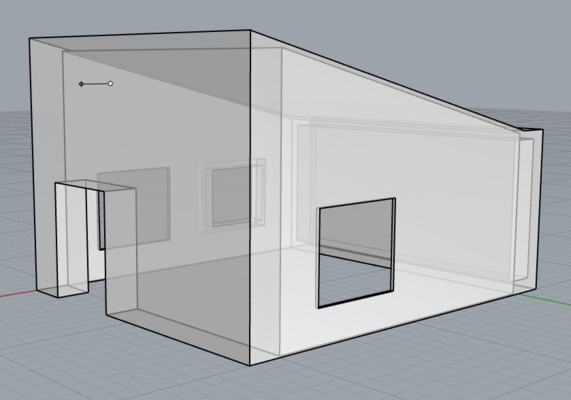
6.手前の壁の左の曲線を選択し、ガムボールの緑矢印上の切断ハンドルをctrlキーを押しながらドラッグ(ボス機能)、外側に押し出します。切断ハンドルのボス機能を使うことで、右図のように押し出し形状が元のソリッドに追加されます(BooleanUnionのような機能)。
PushPullコマンドを使ったソリッドのくり抜き、追加
次に同様の機能をPushPullコマンドで行ってみます。プッシュプルツールバーにあるInsetコマンドも合わせて行います。
7.まず最初にInsetコマンドでエッジの内側の曲線を作成します。
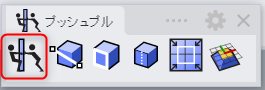
Insetコマンドはメニューバーにはないため、ソリッドツールバーのPushPullアイコンの右下三角▶から、プッシュプルツールバーを表示します。
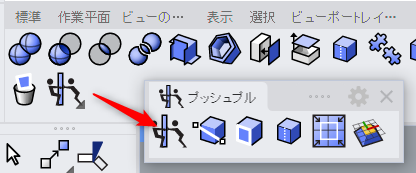
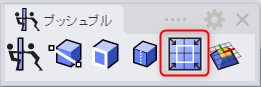
プッシュプルツールバーの中にある、「面のエッジをインセット」アイコンをクリックし、Insetコマンドを実行します。
このコマンドはサーフェスのエッジから、内側に入った曲線を作成できます。
またオプションで、エッジからの距離を指定したり、その曲線でサーフェスを分割する/しないを選択することが可能です。
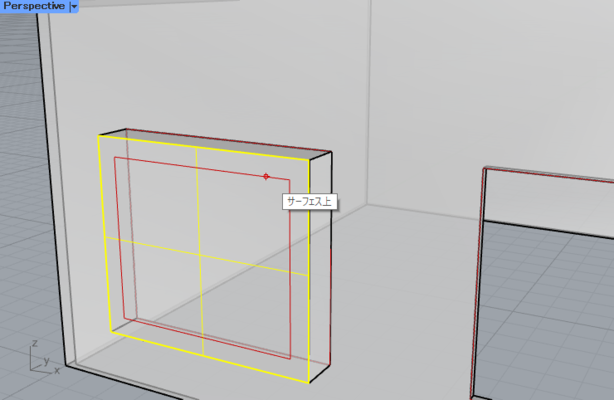
「面やNゴンを選択」で押し出した左側の手前面を選択しEnterで決定します。
インセット距離で 通過点指定 オプションをクリック、

ここでは数値指定でなく適当な位置に曲線を作成したいので、ルーズ=オン に、
また曲線でサーフェスを分割したいので、分割=はい に設定します。

サーフェス上の任意の位置でクリックすると、その位置に曲線が作成され、更に曲線でサーフェスが分割されます。
続けて左側の壁にも同様にInsetコマンドを実行し、内側曲線を作成します。
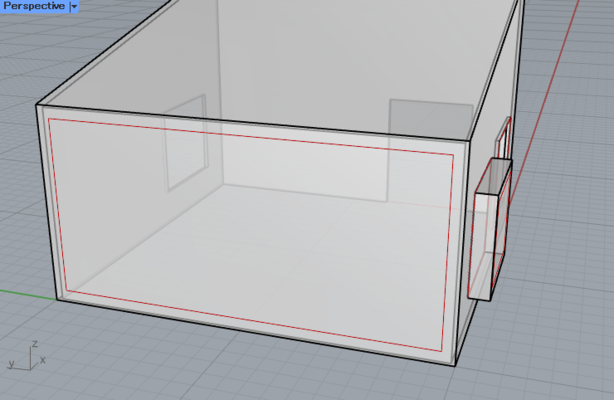
次にPushPullツールバーからPushPullコマンドを実行、Insetコマンドで分割した内側サーフェスを選択し内部に向かって押し出すことで、内側サーフェス部でソリッドをくり抜きます。
続けてPushPullコマンドを実行、左側の壁のInsetで分割した外側サーフェスを選択し、外側に押し出します。押し出した部分が元の形状に追加(1つのポリサーフェスの状態)されました。
このようにPushPullコマンドとガムボールの切断ハンドルのボス機能は、同じ結果を得ることができます。
Tips:PushPullコマンドの延長オプション
PushPullコマンドには押し出しの他に、サーフェスを延長する延長オプションもあります。
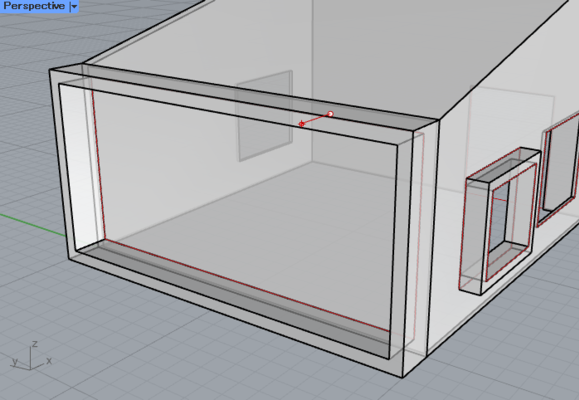
反対側の壁に移動して、Shift+Ctrlキーを押しながらサーフェスを選択します。
PushPullコマンドを実行、そのままドラッグすると押し出しが作成できますが、
ここではオプションのモード=押し出し をクリックし、

延長 に切り替えます。

PushPullコマンドの延長オプションを使用することで、エッジからサーフェスを延長したソリッドが作成できました。
関連動画
自動作業平面・ガムボール・Inset・PushPull機能の概要紹介動画をこちらからご覧いただけます。